Problem statement
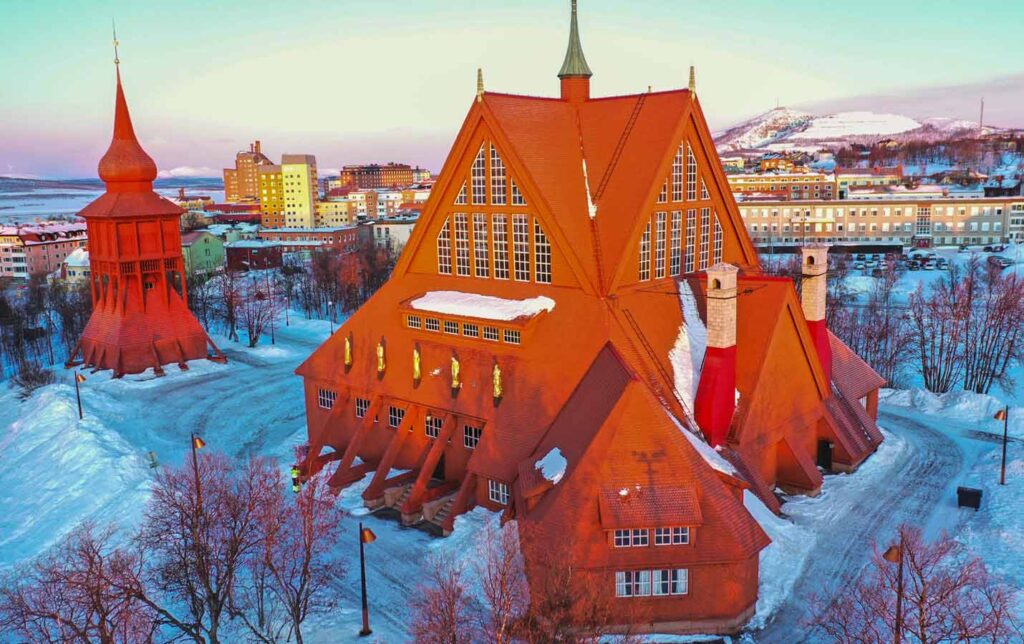
The altarpiece in Kiruna Church, painted by Prince Eugen in 1912, is one of Sweden’s most significant works of art in a religious setting. The painting is monumentally large, approximately 5.0 × 3.6 meters, and consists of oil painting on coarse linen canvas, mounted on lime plaster and framed in wood. It forms a central part of the church’s interior and is of both cultural and artistic value. The relocation of the Kiruna church posed great risks to the painting’s preservation, as vibrations, temperature changes, mechanical loads and deformations during the move could damage the painting.
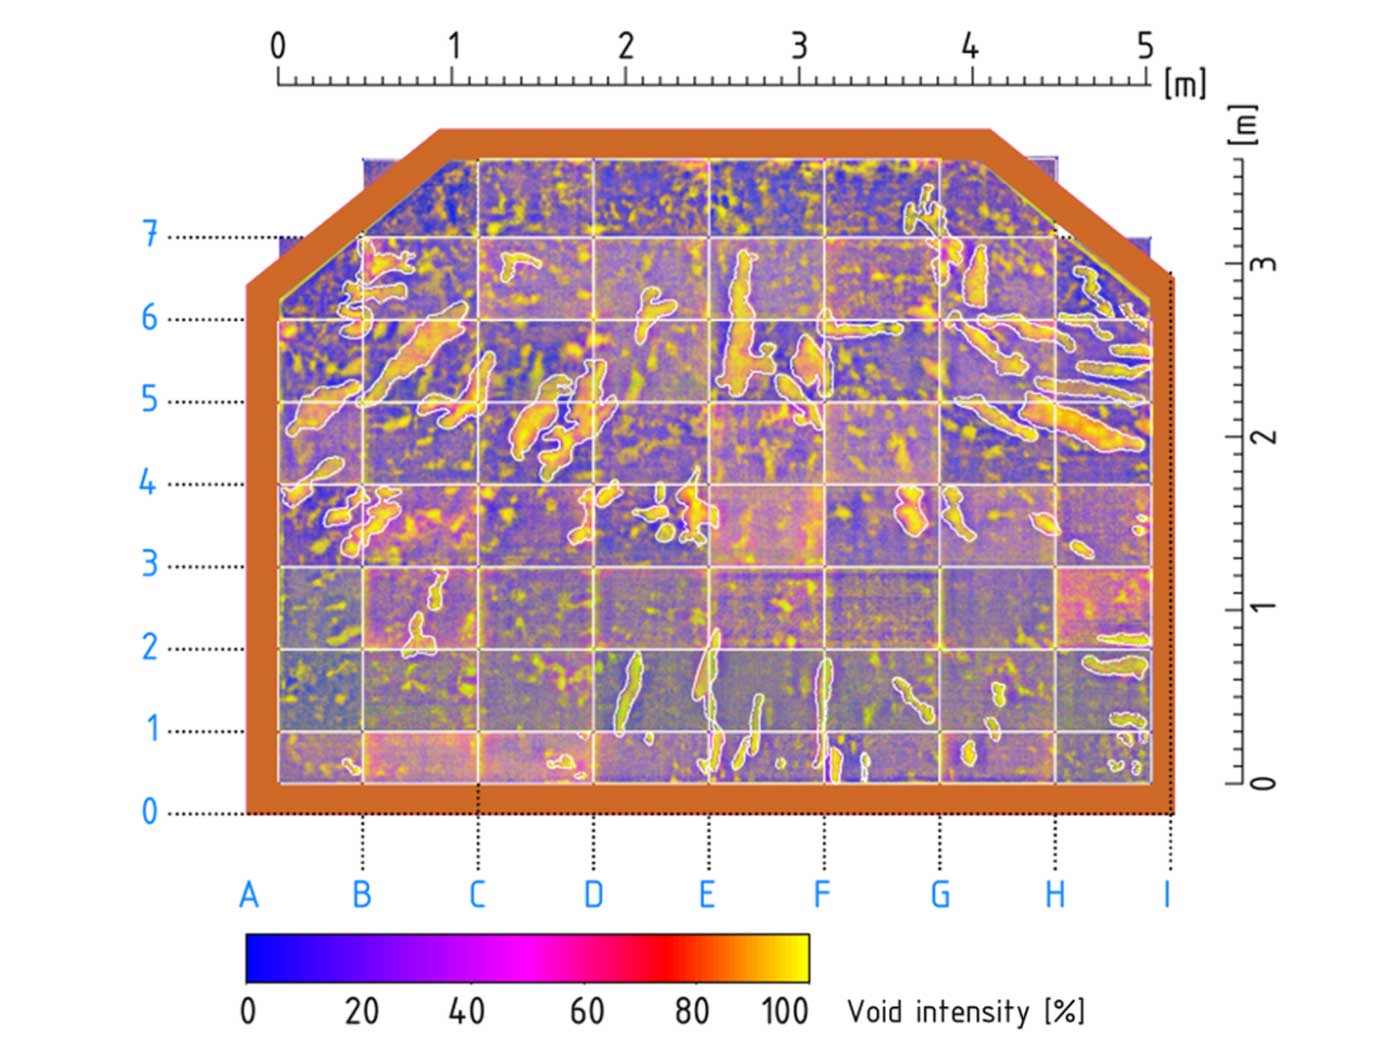
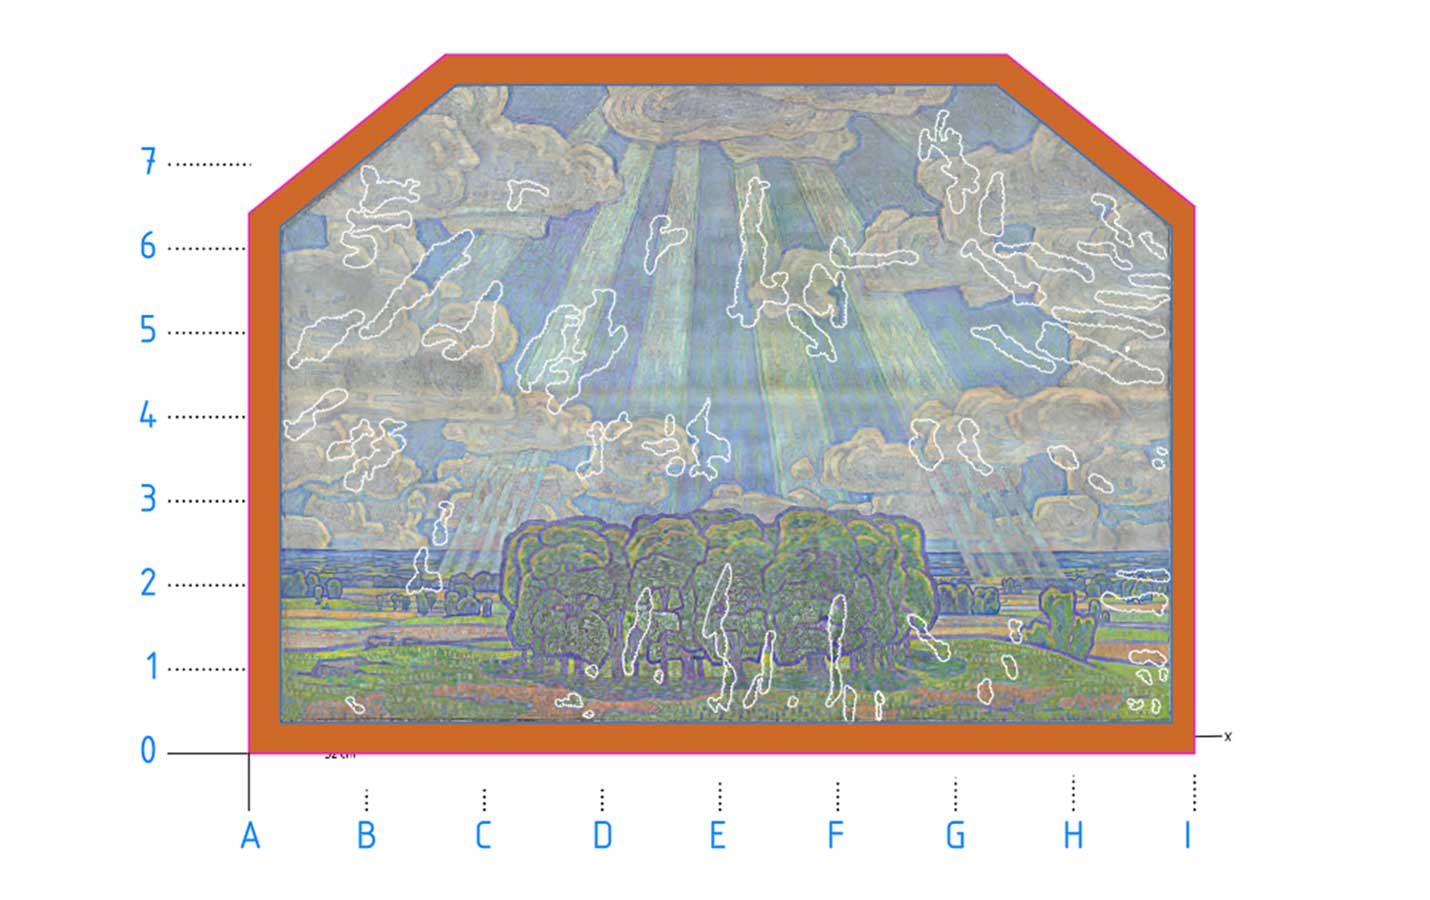
The only previously documented inspection was from 1982 and showed localized delamination and loose plaster. The problem of the project was therefore to document with the highest possible accuracy the condition of the painting before and after the move, to identify existing defects such as air bubbles and voids, and to create a robust method for follow-up. This required advanced, non-destructive testing that could both detect underlying defects (using thermography) and map geometric deformations (using photogrammetry).
Outcome
The project resulted in a series of inspections using both thermography and photogrammetry that provided a detailed picture of the status of the altarpiece. Six thermographic surveys and four photogrammetric scans were carried out between June 2024 and July 2025. The results showed that the painting had a number of existing cavities and air bubbles in the cloth, but these did not expand during the period despite extensive construction work and preparations for the church move. The developed image processing methodology (including normalization and SSIM analysis) showed that differences between the scans were within the measurement uncertainty of the method, about 1.9-2.4% of the surface. The photogrammetry method, which had sub-millimeter accuracy (0.017 mm/pixel), showed small deformations: rotation of the board by about 0.3 mm and local deformations of about 1.5 mm in some areas. These results correlated with inclinometric measurements from the church monitoring system and confirmed the stability of the panel. In conclusion, the results show that the altarpiece has not suffered any damage during the period 2024-2025, but has remained in a stable condition before and after the relocation of the church.
Solution
The project was implemented in several stages where methodology and technology were gradually developed and adapted
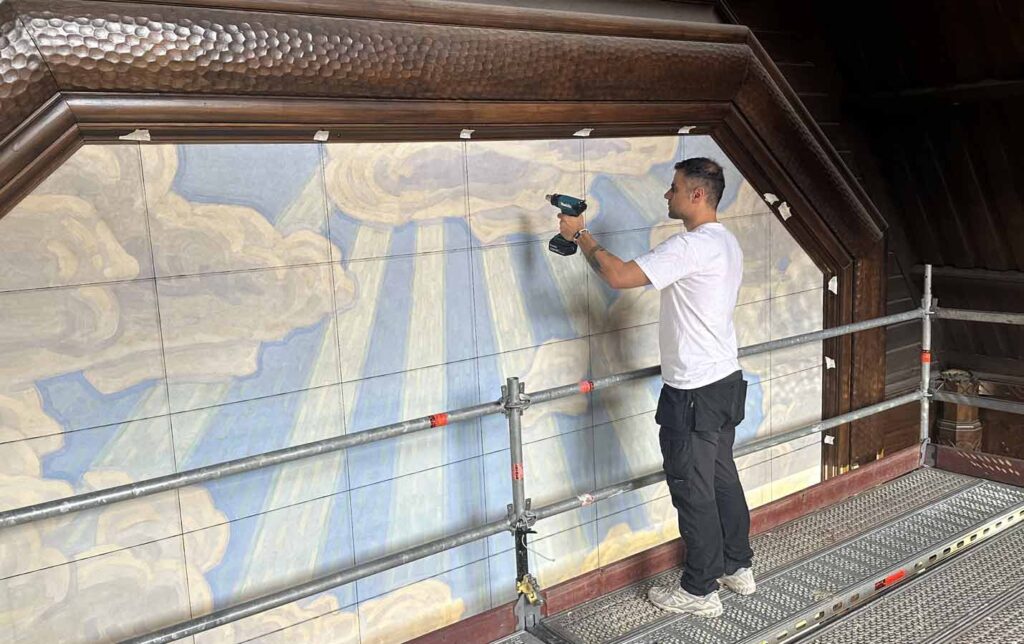
- June 2024: A first reference scan with both thermography and photogrammetry was performed. The aim was to create a baseline model in 3D and document existing voids and defects. Thermography was performed by heating the surfaces with a hot air gun and recording the heat response with a thermal imaging camera (FLIR T865). Photogrammetry was performed with Canon EOS 6D Mark II and 100 mm macro lens, providing high-resolution 3D models.
- November 2024: A second inspection was carried out focusing on cavities in the fabric. Using developed algorithms, thermographic images from different seasons could be reliably compared. The comparison showed only a marginal change of 1.9% – a result that was within the method’s margin of error.
- April 2025: A third inspection was performed focusing on area A (upper left part of the board). The inspection combined thermography with detailed photogrammetry, where local deformations of about 0.5-1.5 mm were noted.
- June 2025: A fourth inspection focusing on Area B was carried out, where both thermography and photogrammetry showed stability and no new defects.
- July 2025: The fifth inspection (fifth thermography and fourth photogrammetry) showed no further changes.
- August 2025: The sixth inspection, only thermography showed that no further changes had occurred and that the board remained intact
To achieve this level of detail, grid-based thermography, Python scripts for image processing, SSIM analysis to detect small variations, and photogrammetry calibration rods and control points were used. These methods provided an overall picture of the board’s status and created a methodology that can be replicated if necessary.
Film sequence: Kiruna church altarpiece – photogrammetry.
We also created a film to carefully document the entire altarpiece in detail to enable a comparison before and after the move. This will allow us to assess whether the move, or the work carried out before it, has had a negative impact on the painting – for example, whether it has been damaged.
Equipment
- FLIR T865 thermal imaging camera with 640×480 resolution and 30 mK sensitivity
- Hot air gun for controlled heating
- Canon EOS 6D Mark II with 100 mm macro lens
- Grid lines and calibration rods (accuracy 0.1 mm)
- Control points (45) for follow-up photogrammetry
- Software: Agisoft Metashape Professional for 3D modeling
- Python scripts for image analysis and SSIM calculation
- Light system (Godox F600BI) and light meter (Sekonic FLASHMATE L-308X)
Standards and references
- EN 1995-1-1: Eurocode 5 – Design of timber structures
- EN 1990: Eurocode – Basic design rules
- EKS 12: Boverket’s construction rules
- Standards for non-destructive testing (thermography, photogrammetry)
- Wei, W. et al. (2014). Baseline limits for allowable vibrations for objects
- In-house methodology developed by Invator for image analysis and normalization
